Step 1 – Inspection
Take a close look at your wheels and inspect for curb damage, grazing, scuffs and scratches etc. Extensive damage may mean your better off taking the wheels to be diamond cut. If the damage is light, then you can do everything yourself.
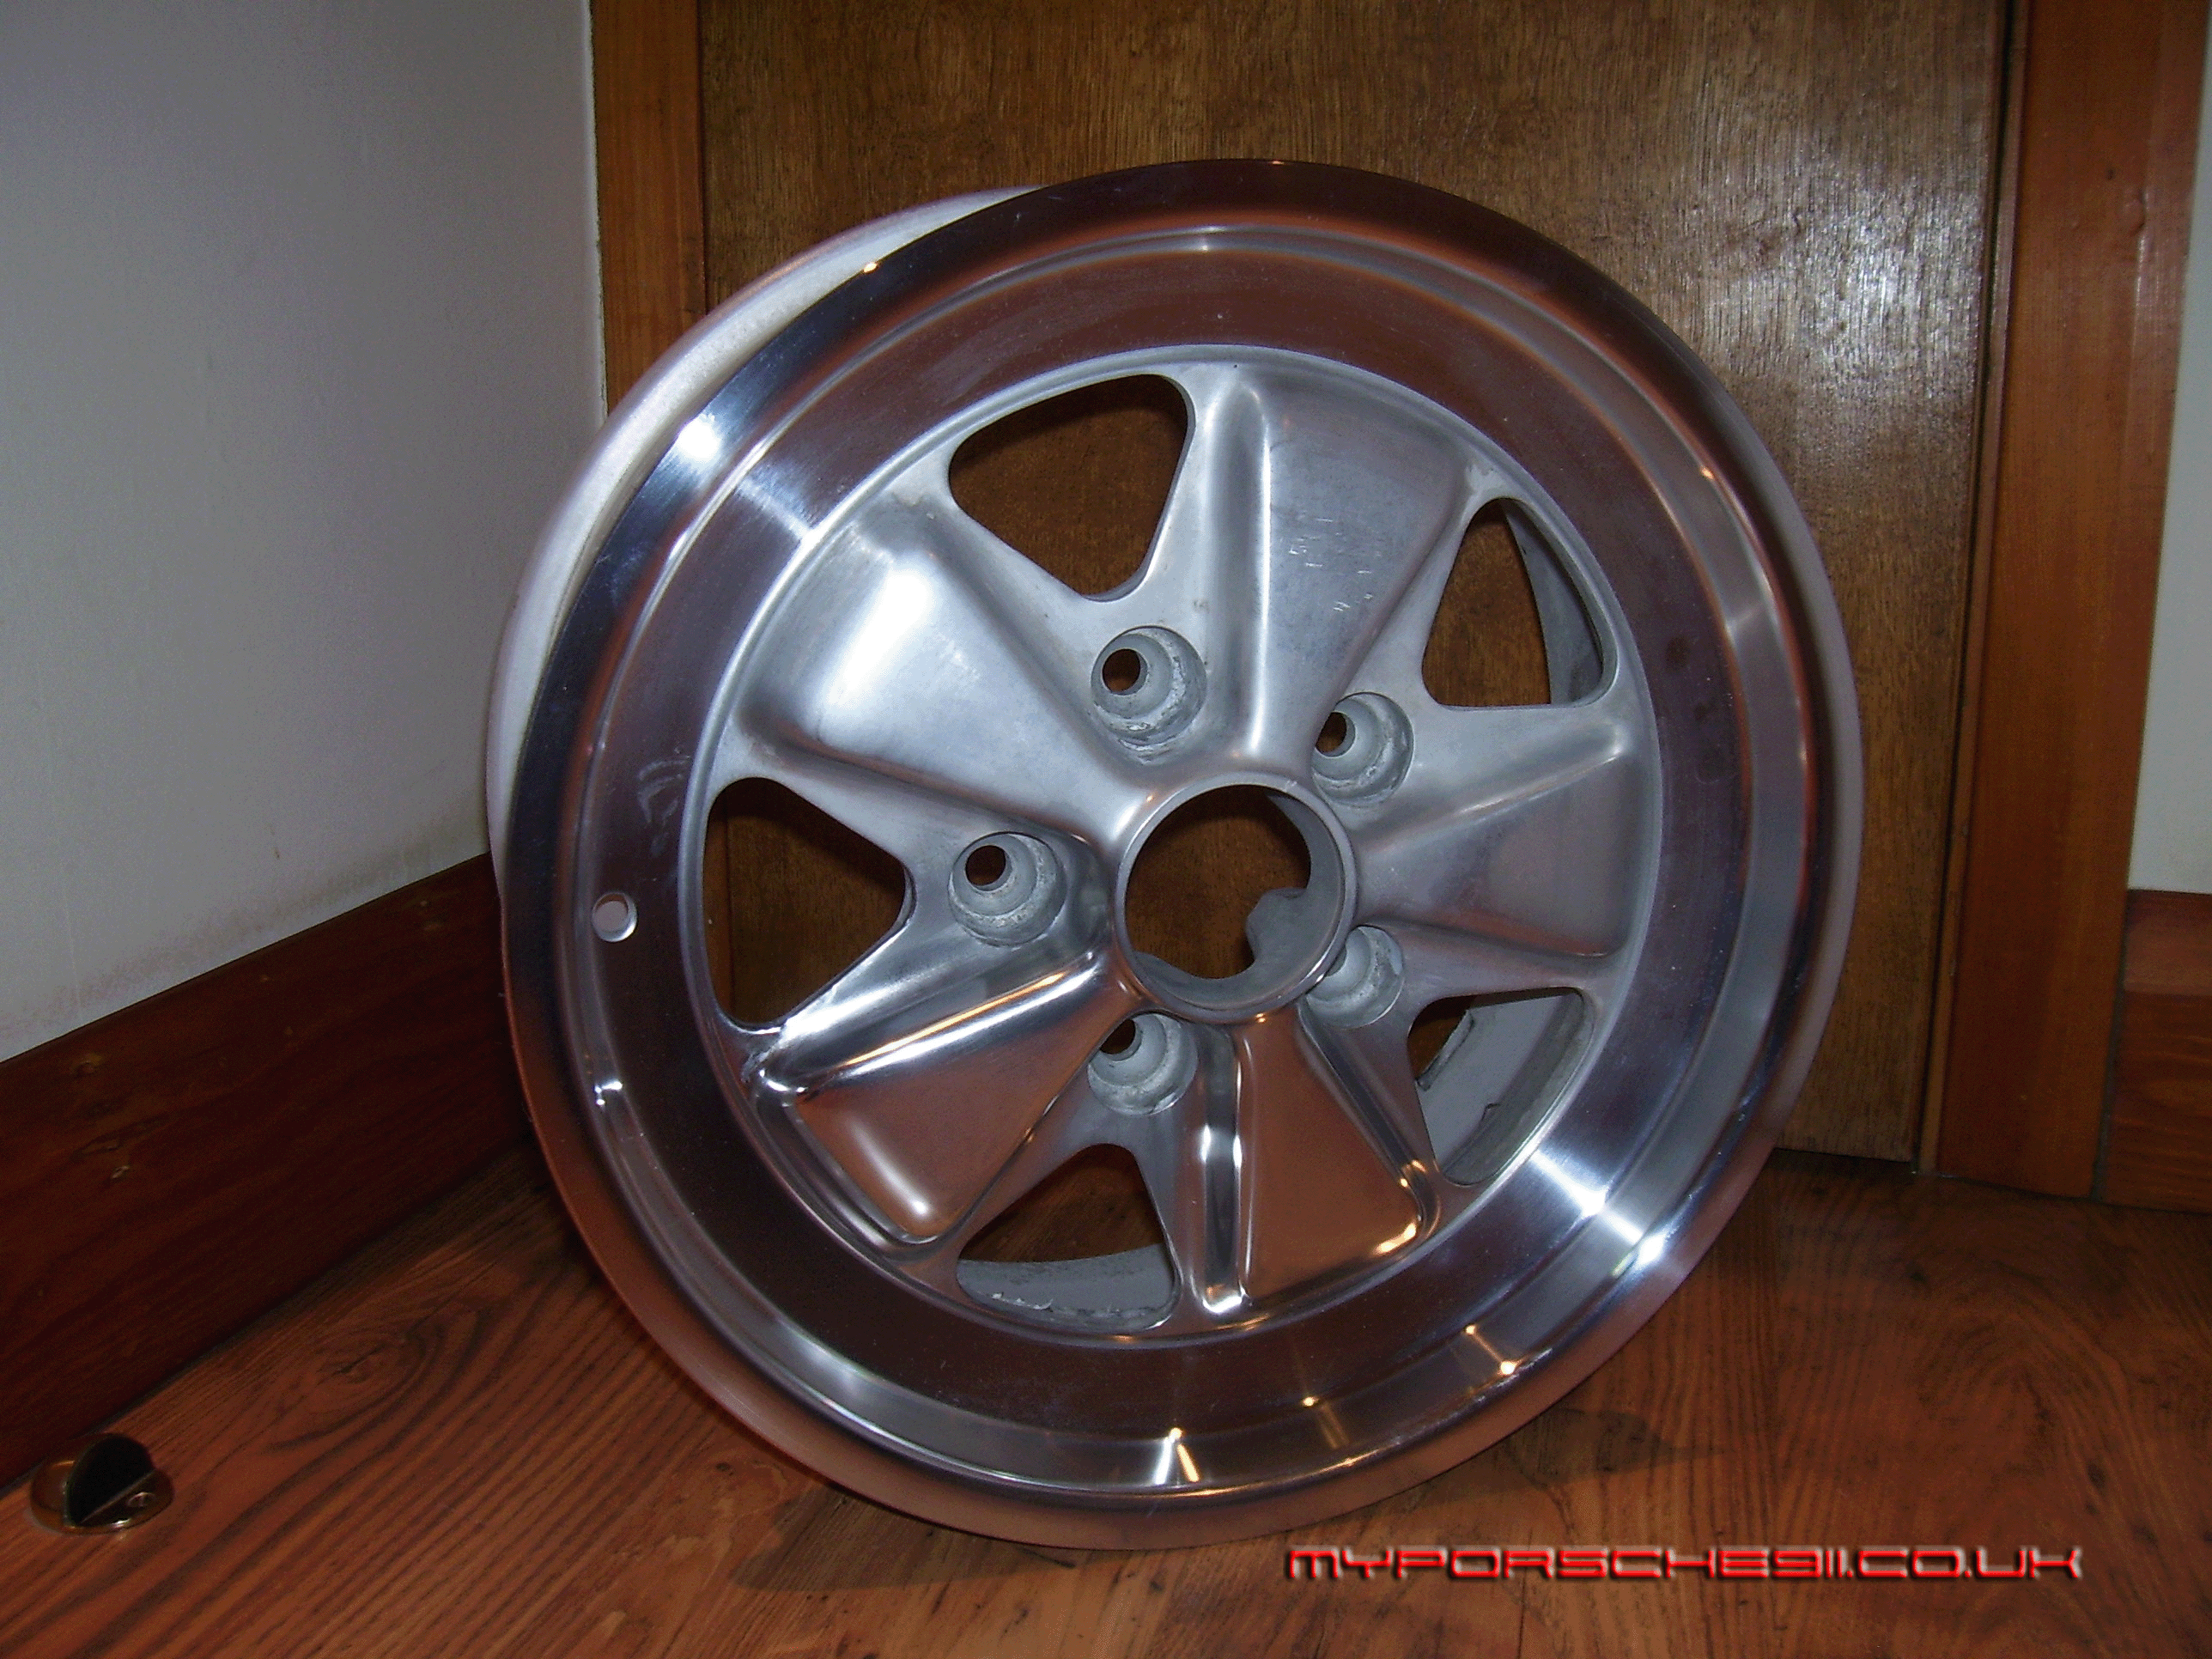
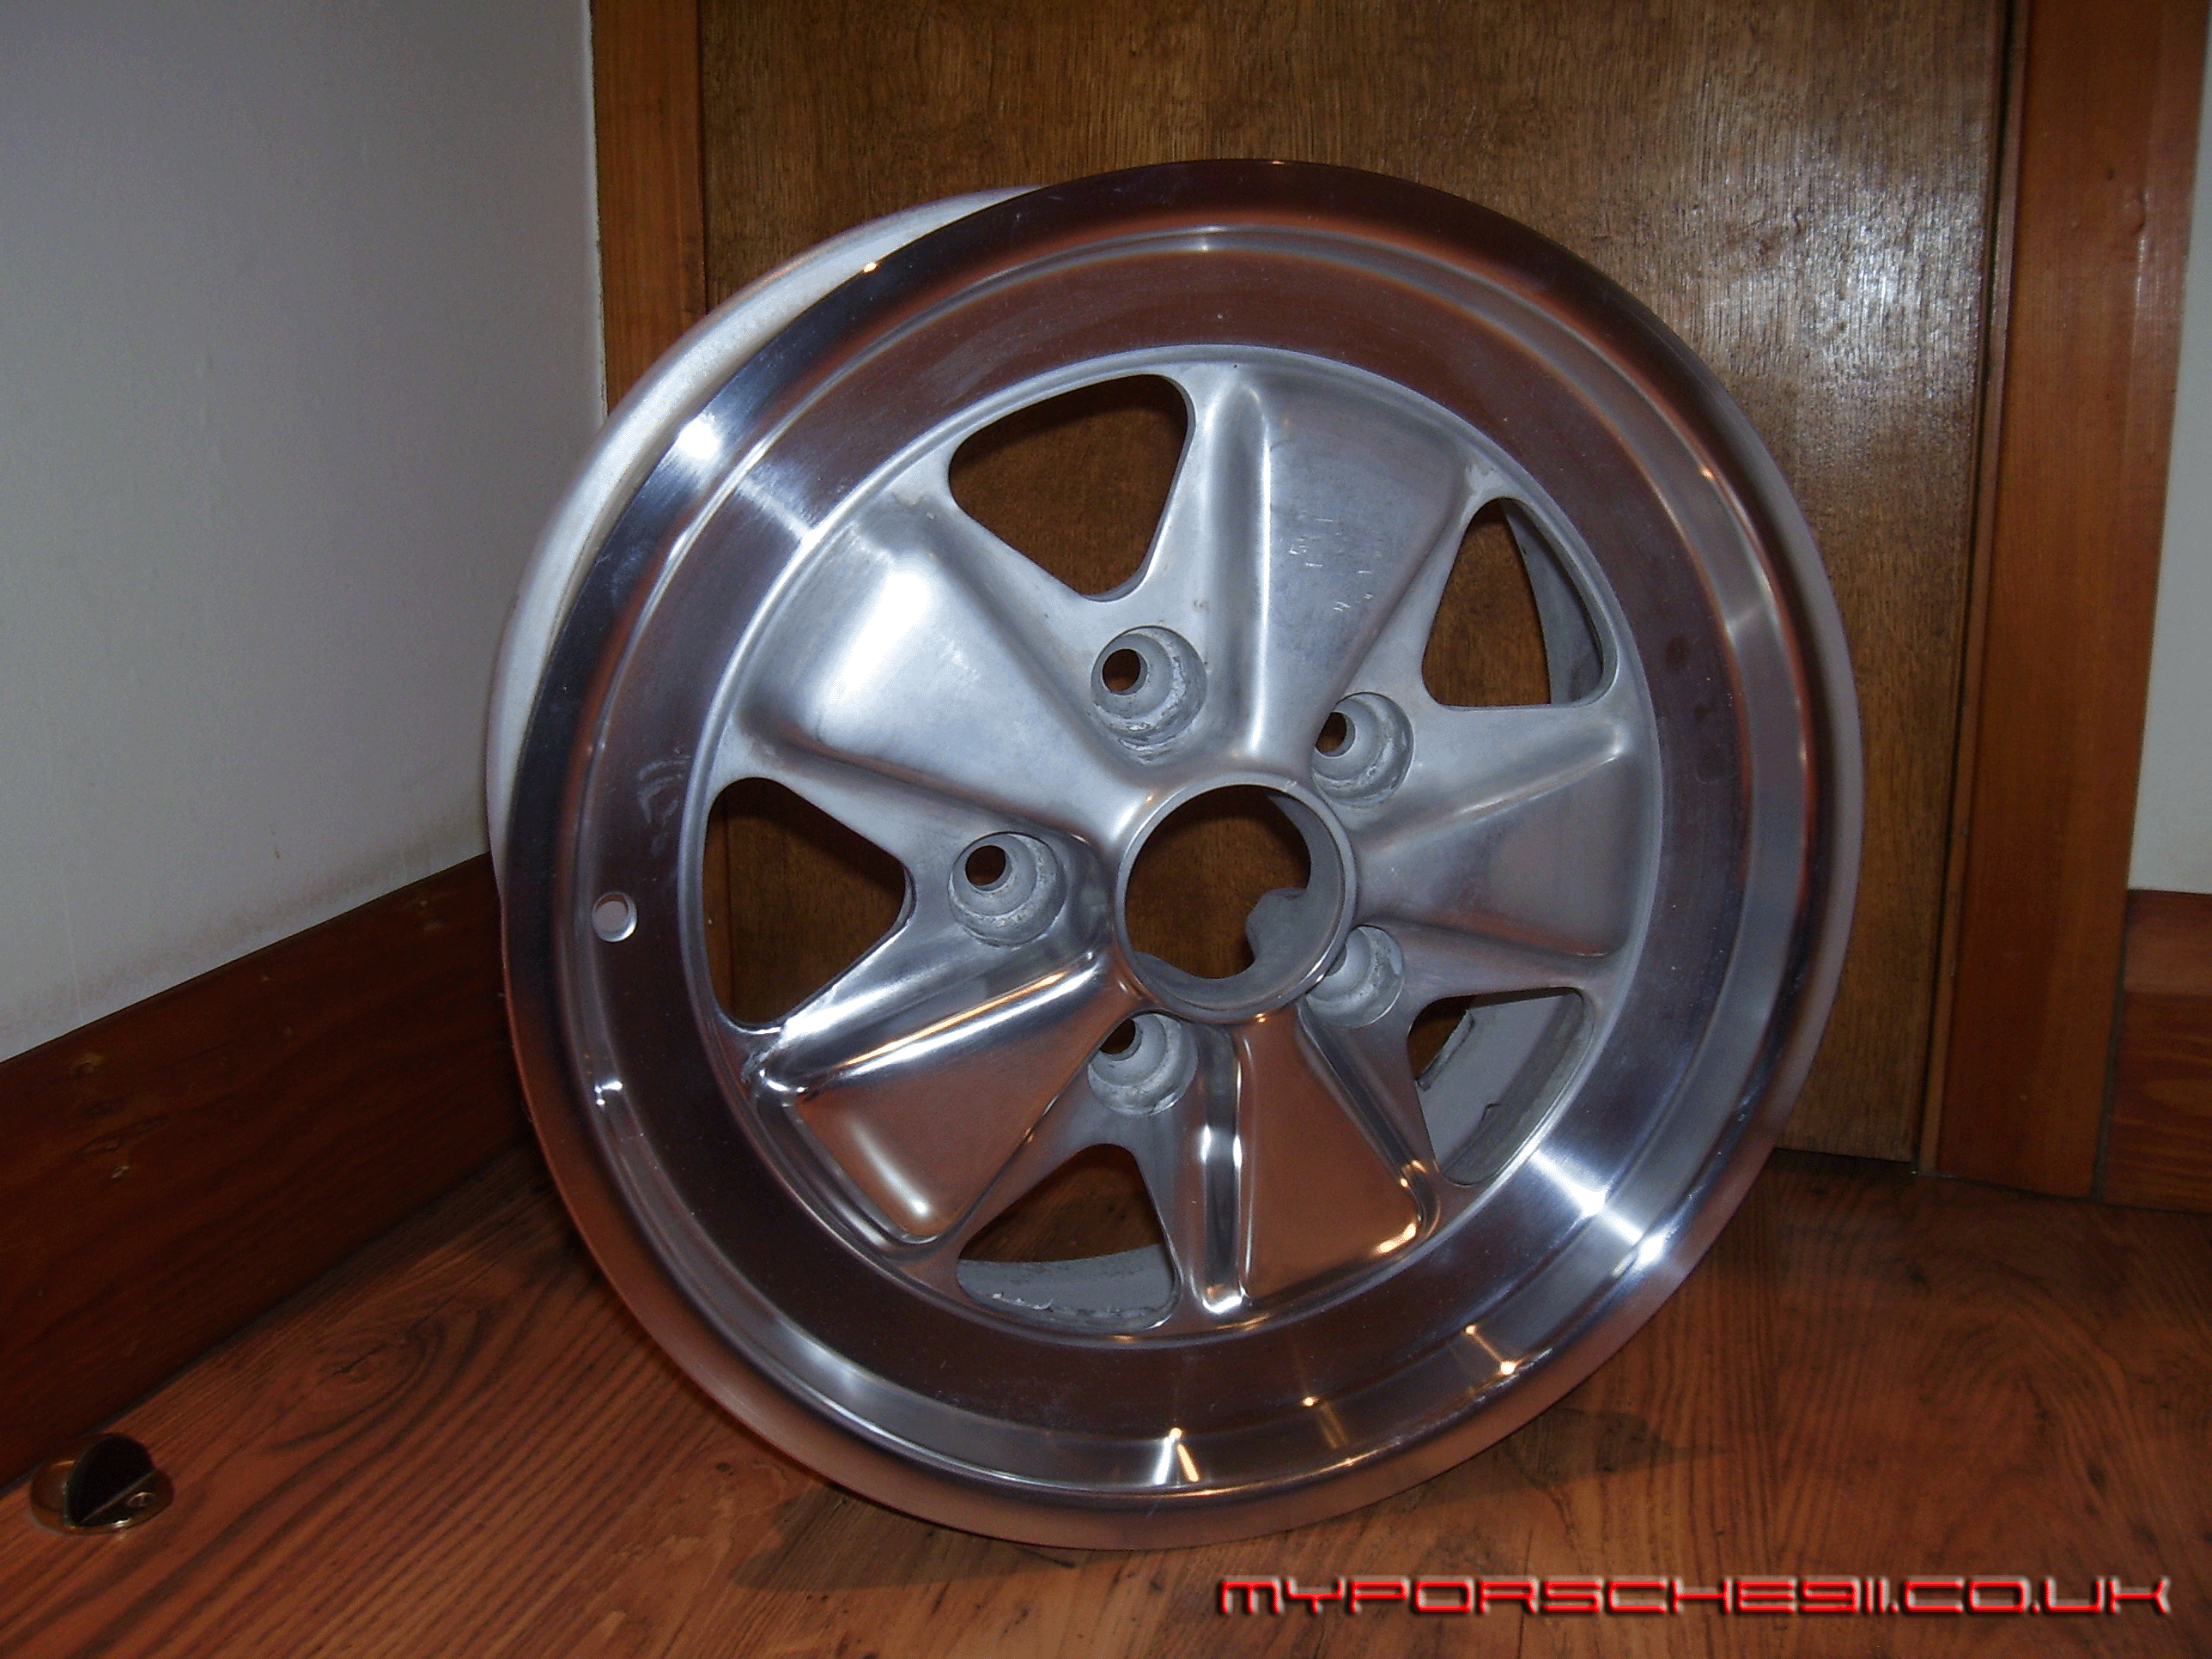
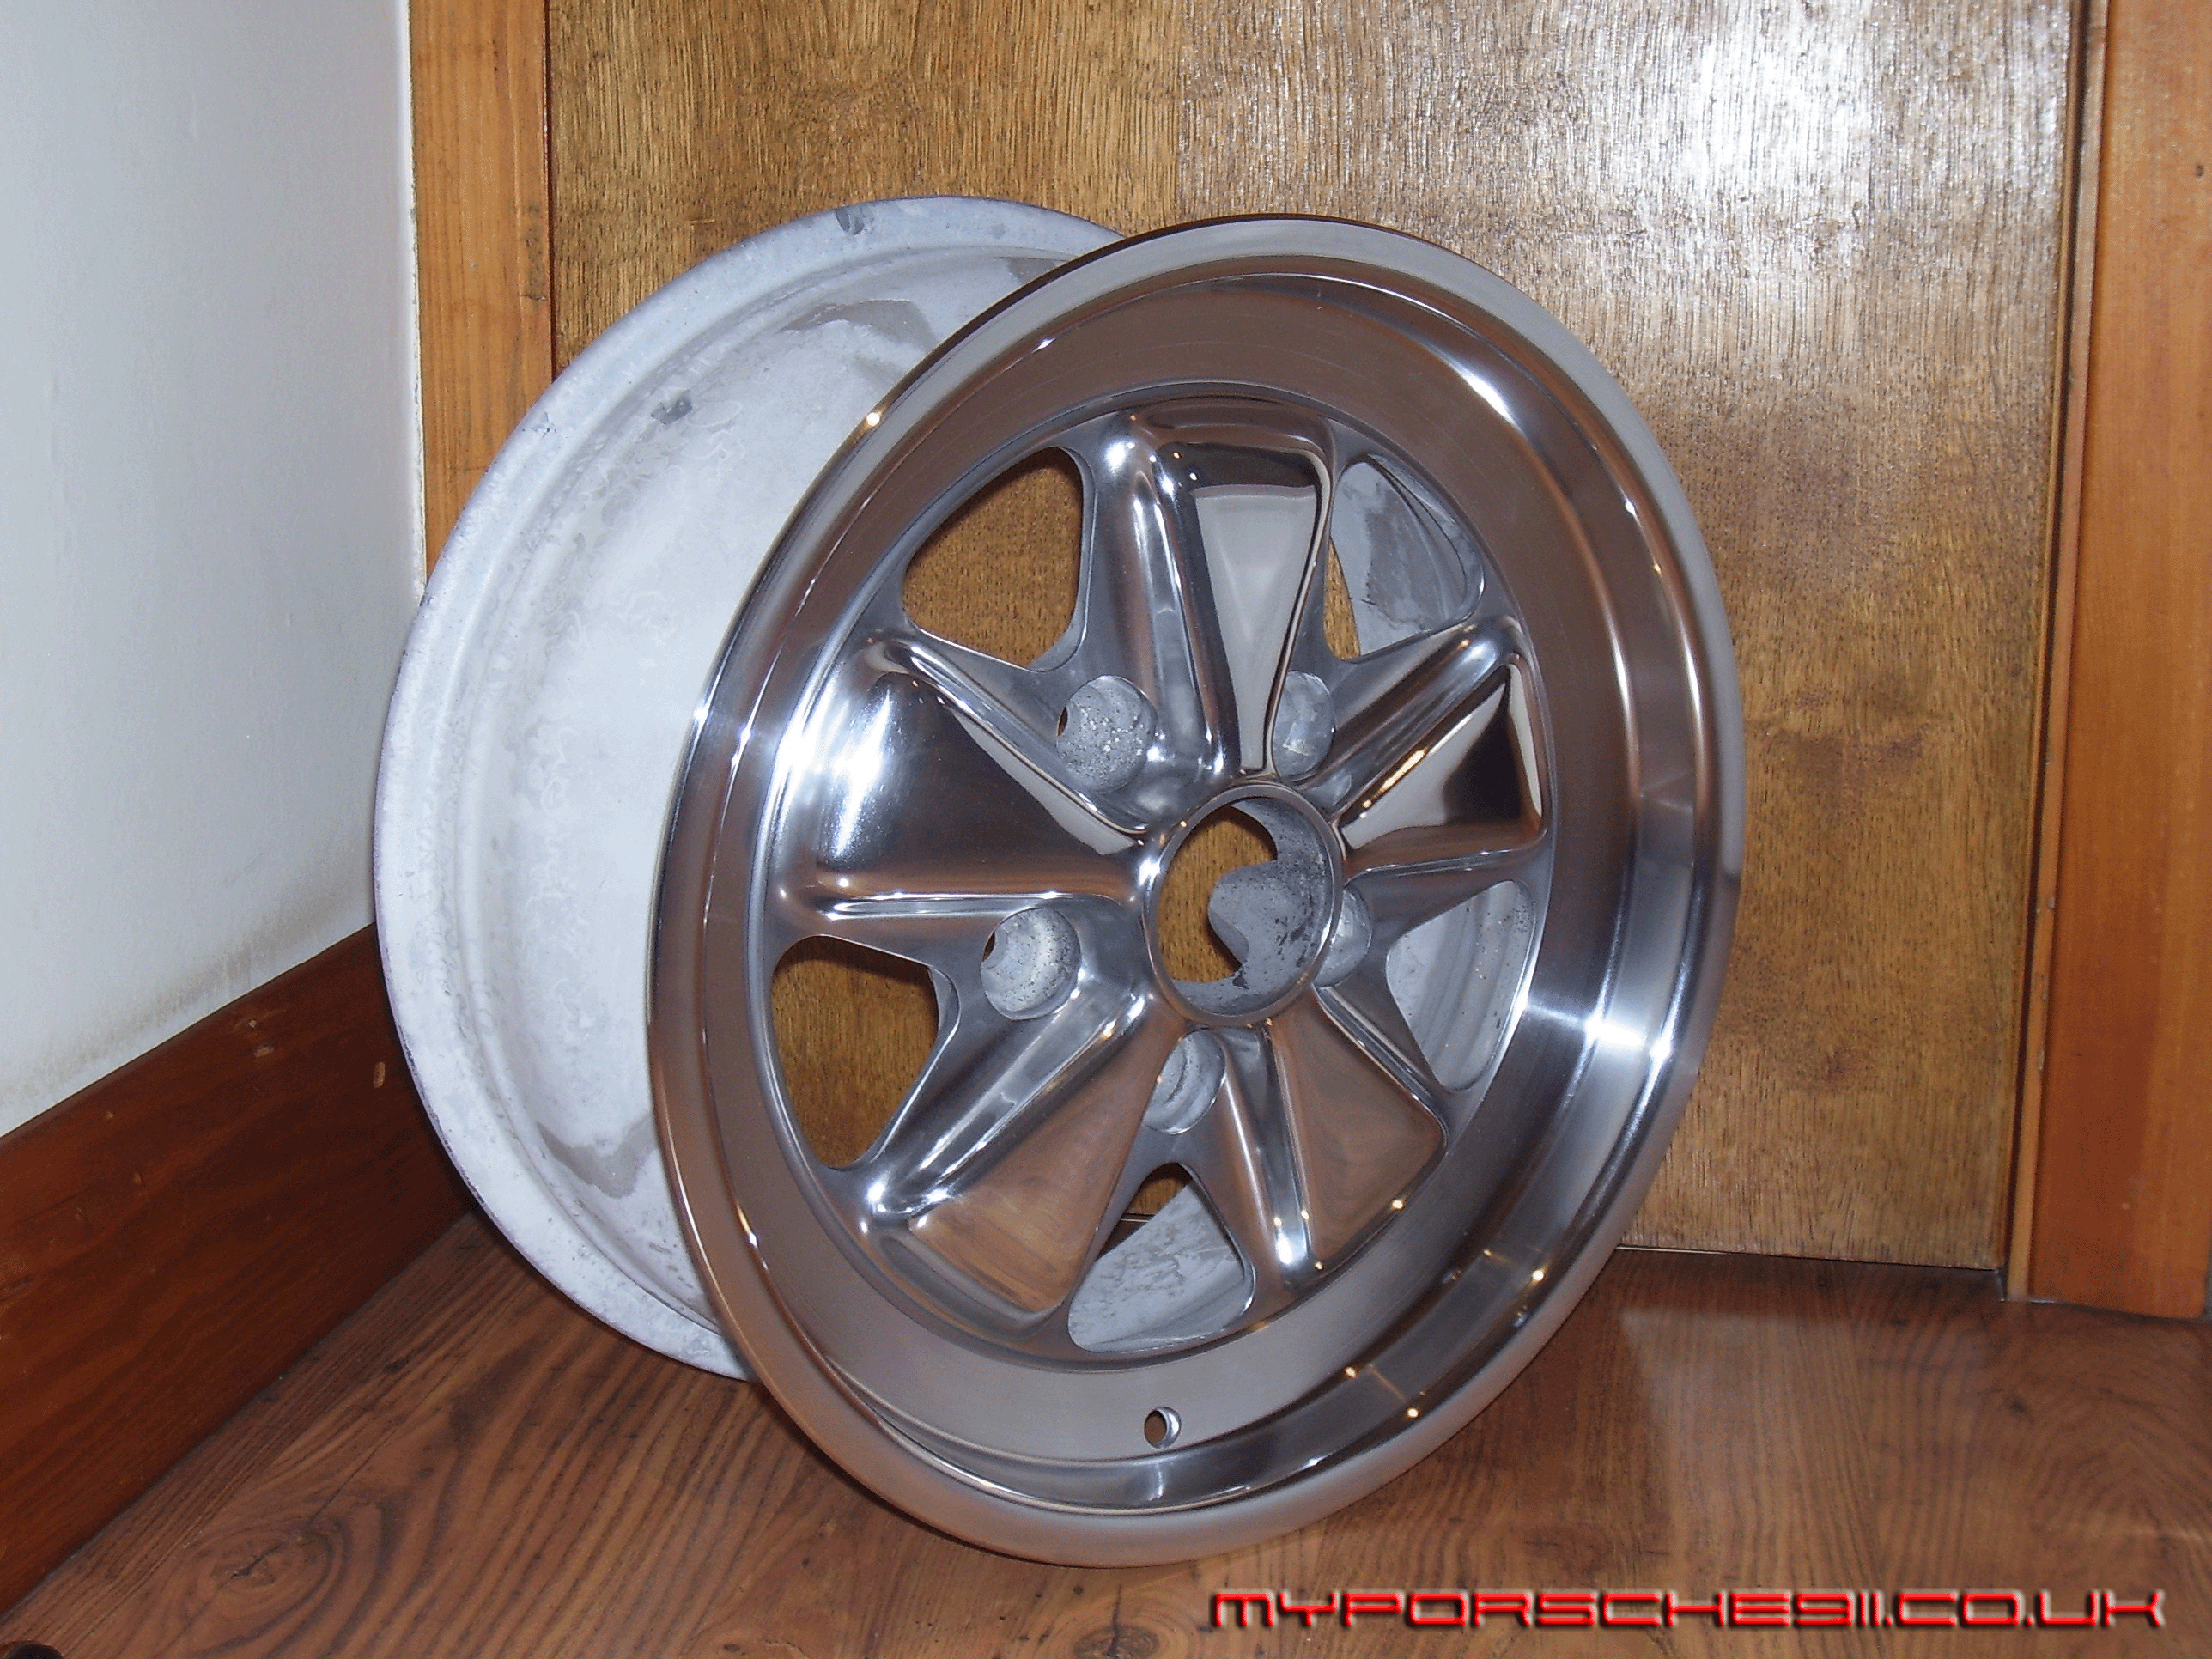
This is the wheel I started with (a 16” x 7” 951 type Fuch). The rims are annodised and have some light scratches with white painted centers. |
|

|
| |
|
|
Step 2 – Preparation
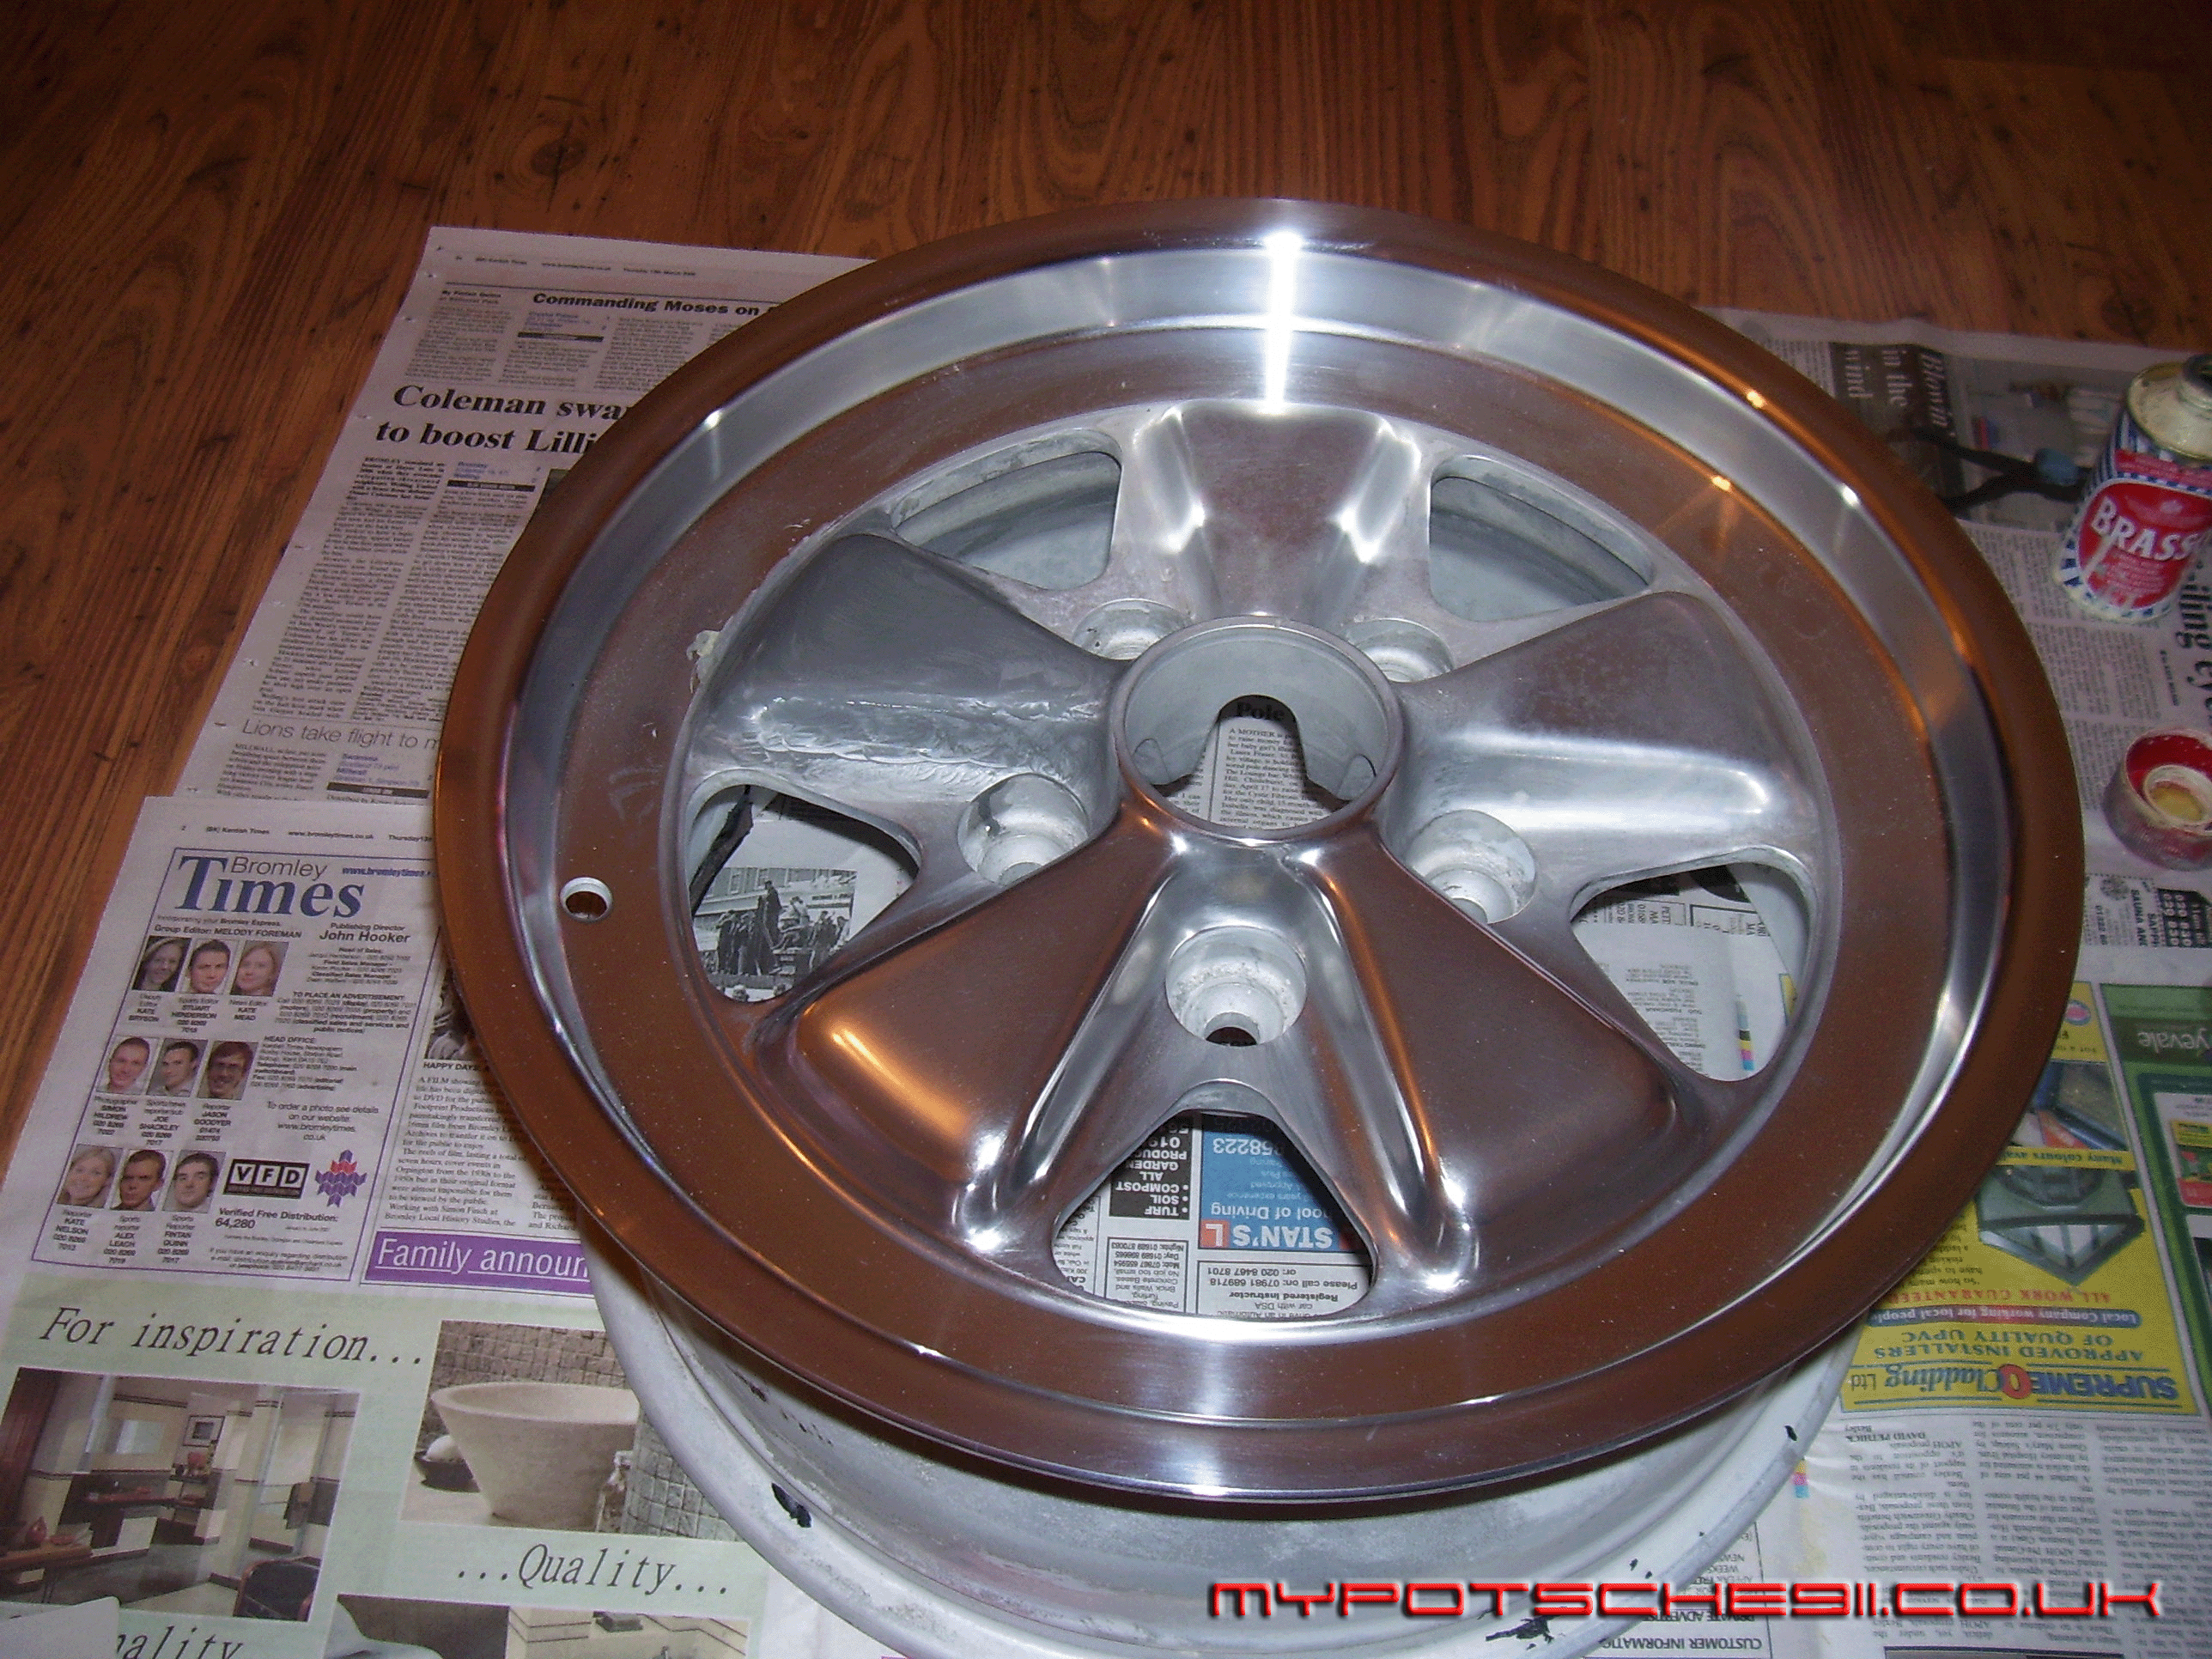
Decide how you want to finish your wheel, i.e. black centers and polished rims, polished centers and rims etc. Next prep the wheel for polishing. The paint can be removed using a paint stripper, but this can be expensive and very time consuming. I had the wheels dipped, stripped and diamond cut for £50 per pair.
In this picture you can see the dull aluminum finish of petals prior to polishing. Two petals have already had the polishing process started. |
|
|
| |
|
|
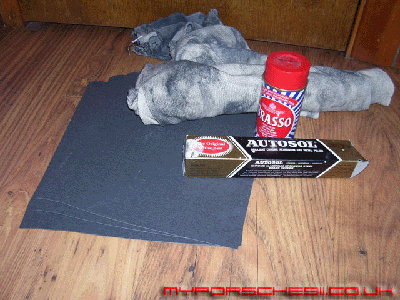
Step 3 – Smoothing
Using the 800 grit wet and dry and some paraffin for lubrication, start rubbing down the areas to be polished. The paraffin stops the grit of the wet and dry becoming clogged. Use a small circular motion for the best finish. Feel the surface with the tips of your fingers. When it feels fairly smooth, move on to 1200 grit wet and dry. This time switch to Bluebell or Brasso as your lubricant. The surface will go black (this normal). |
|
|
| |
|
|
Step 4 – Polishing
Lastly move on 1500 grit wet and dry still using the Bluebell or Brasso metal polish so the lubricant. Take your time, using the small circular rubbing movements. Don’t press too hard. Pushing too hard will scratch the surface rather than polish it. Buff off the black polish with a clean cloth. Now, wrap a clean cloth over your fingertip and start polishing with the Autoglym. Again take your time and continue to use the small circular motion. Here's two petals that have gone through this process. |
|
|
| |
|
|
Step 5 – Final Polishing.
Continuing with the Autoglym and rags will give you a chrome like finish if you spend long enough. You can also use a polishing wheel attachment for a drill, which will give you the same finish but will get you there slightly faster. The process of smoothing and polishing described above should take about 4 hours per wheel, using the drill and wheel will take some time off. |
|
|
| |
|
|
Step 6 – Masking & Painting
Next you need to mask off for painting. Using a plastic electrical insulation tape is idea for masking curved outlines. This tape is very flexible and allows you follow the contour of petals perfectly.
Once you have picked out the petals, mask the rest with normal masking tape and newspaper. Then prime and paint with the colour of your choice. I used Wurth Alumni um primer and satin black lackspray.
When priming remember to use only enough primer to cover the surface to be primed. Do an initial dust coat and then a final coat. Once dry you shouldn't need more than two coats of top coat. |
|

|
| |
|
|
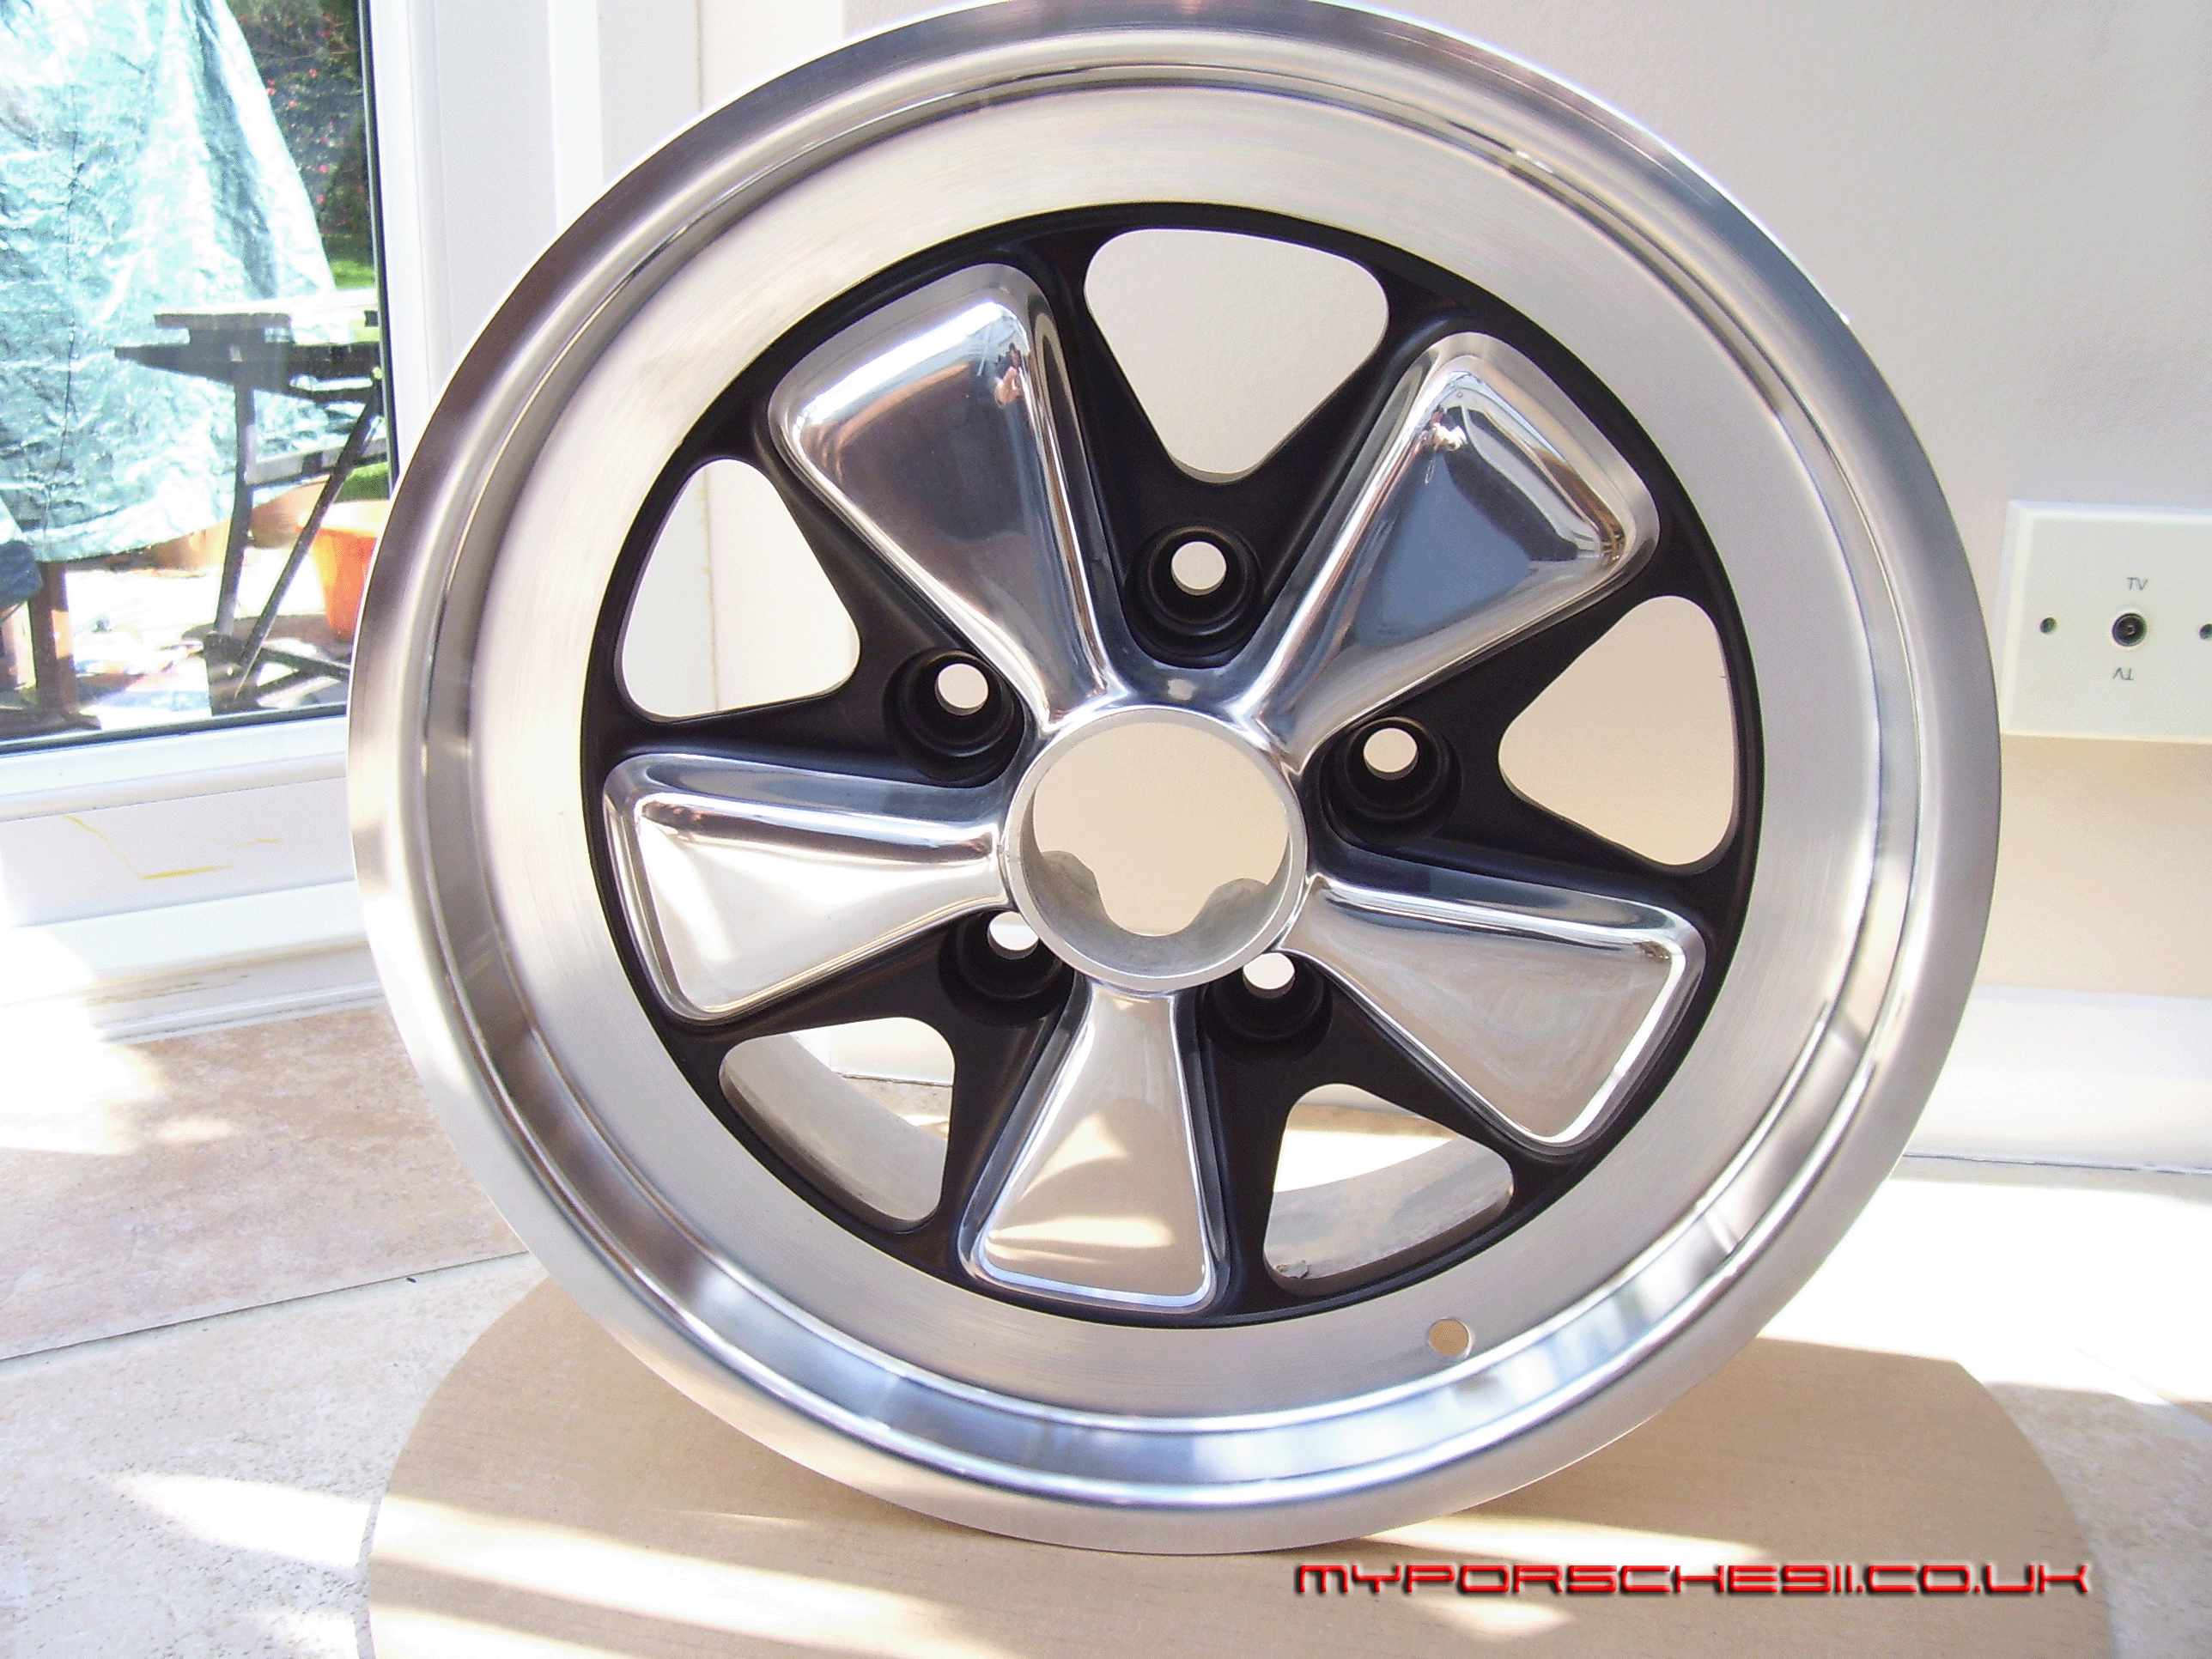
Step 7 – Admire
Here’s the finished wheel ready for tyres and fitting to the car. The tyres will be Bridgestone SO2’s. |
|
|
| |
|
|
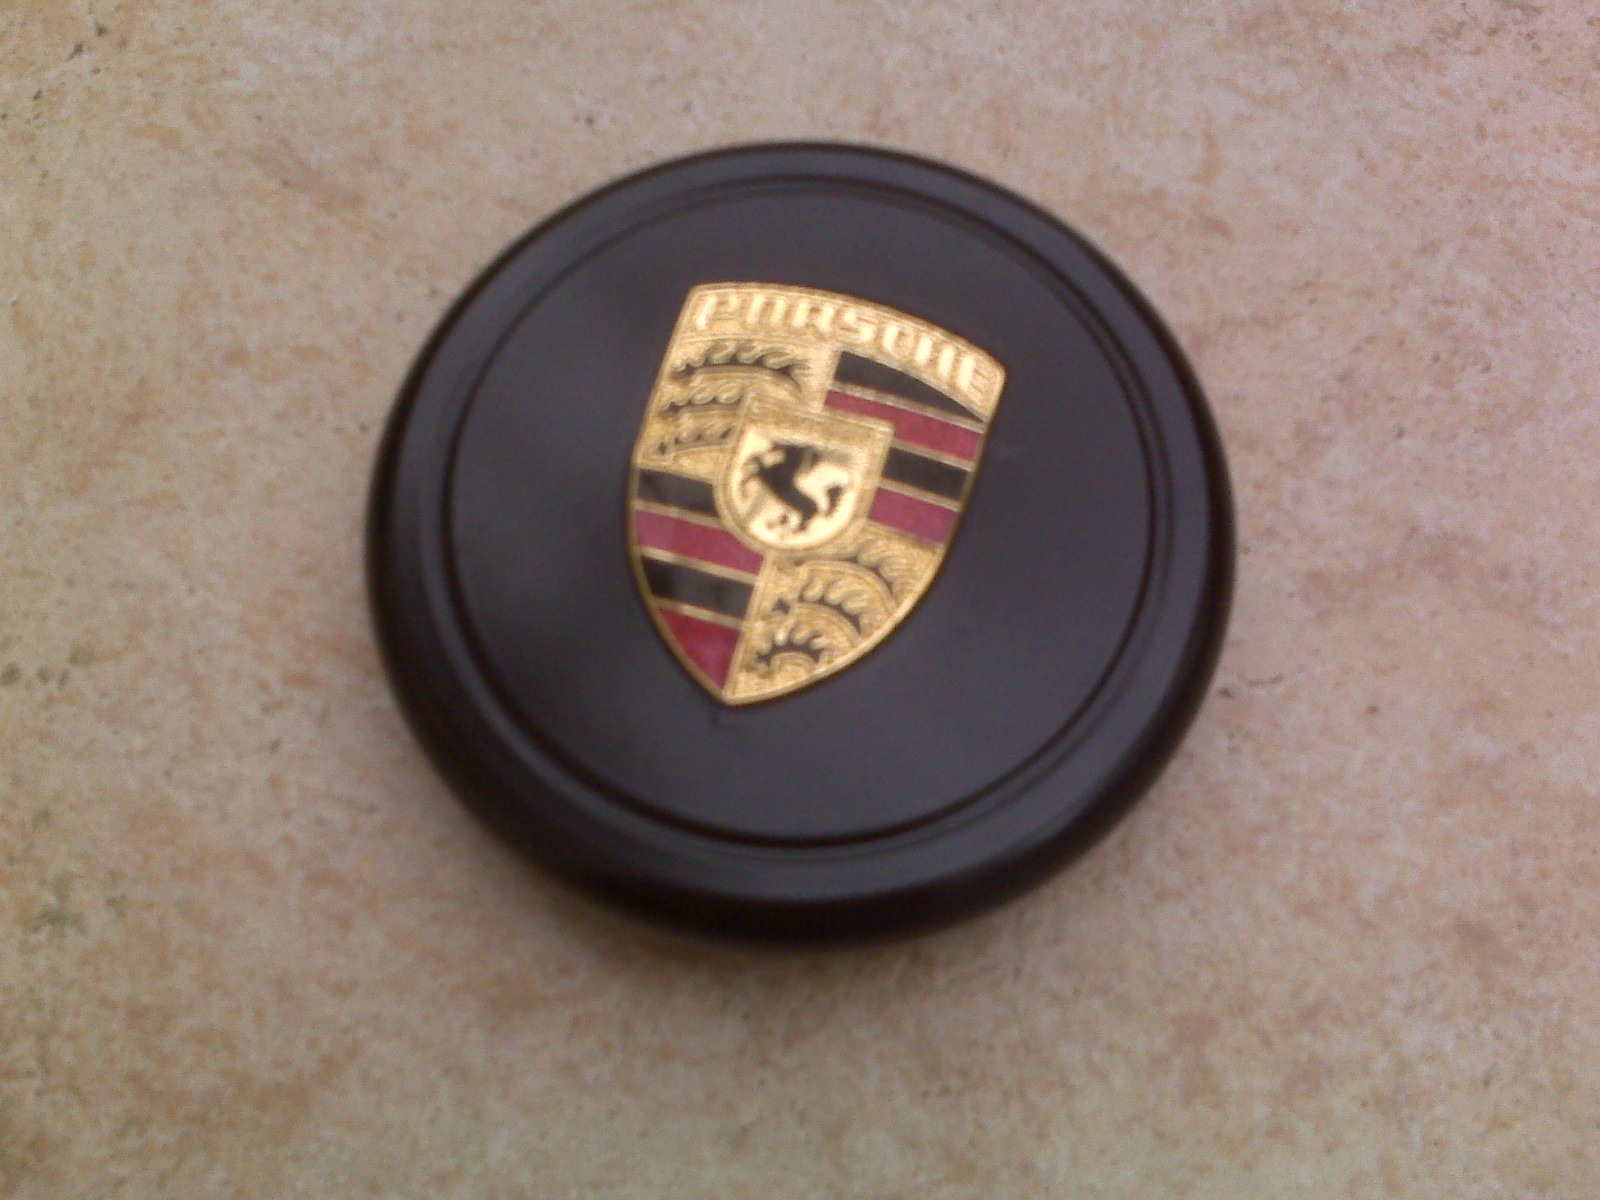
Step 8 - Wheel Center Caps
Next the wheel center caps have to have the same treatment. Here's the original center cap prior to striping and polishing. |
|
 |
| |
|
|
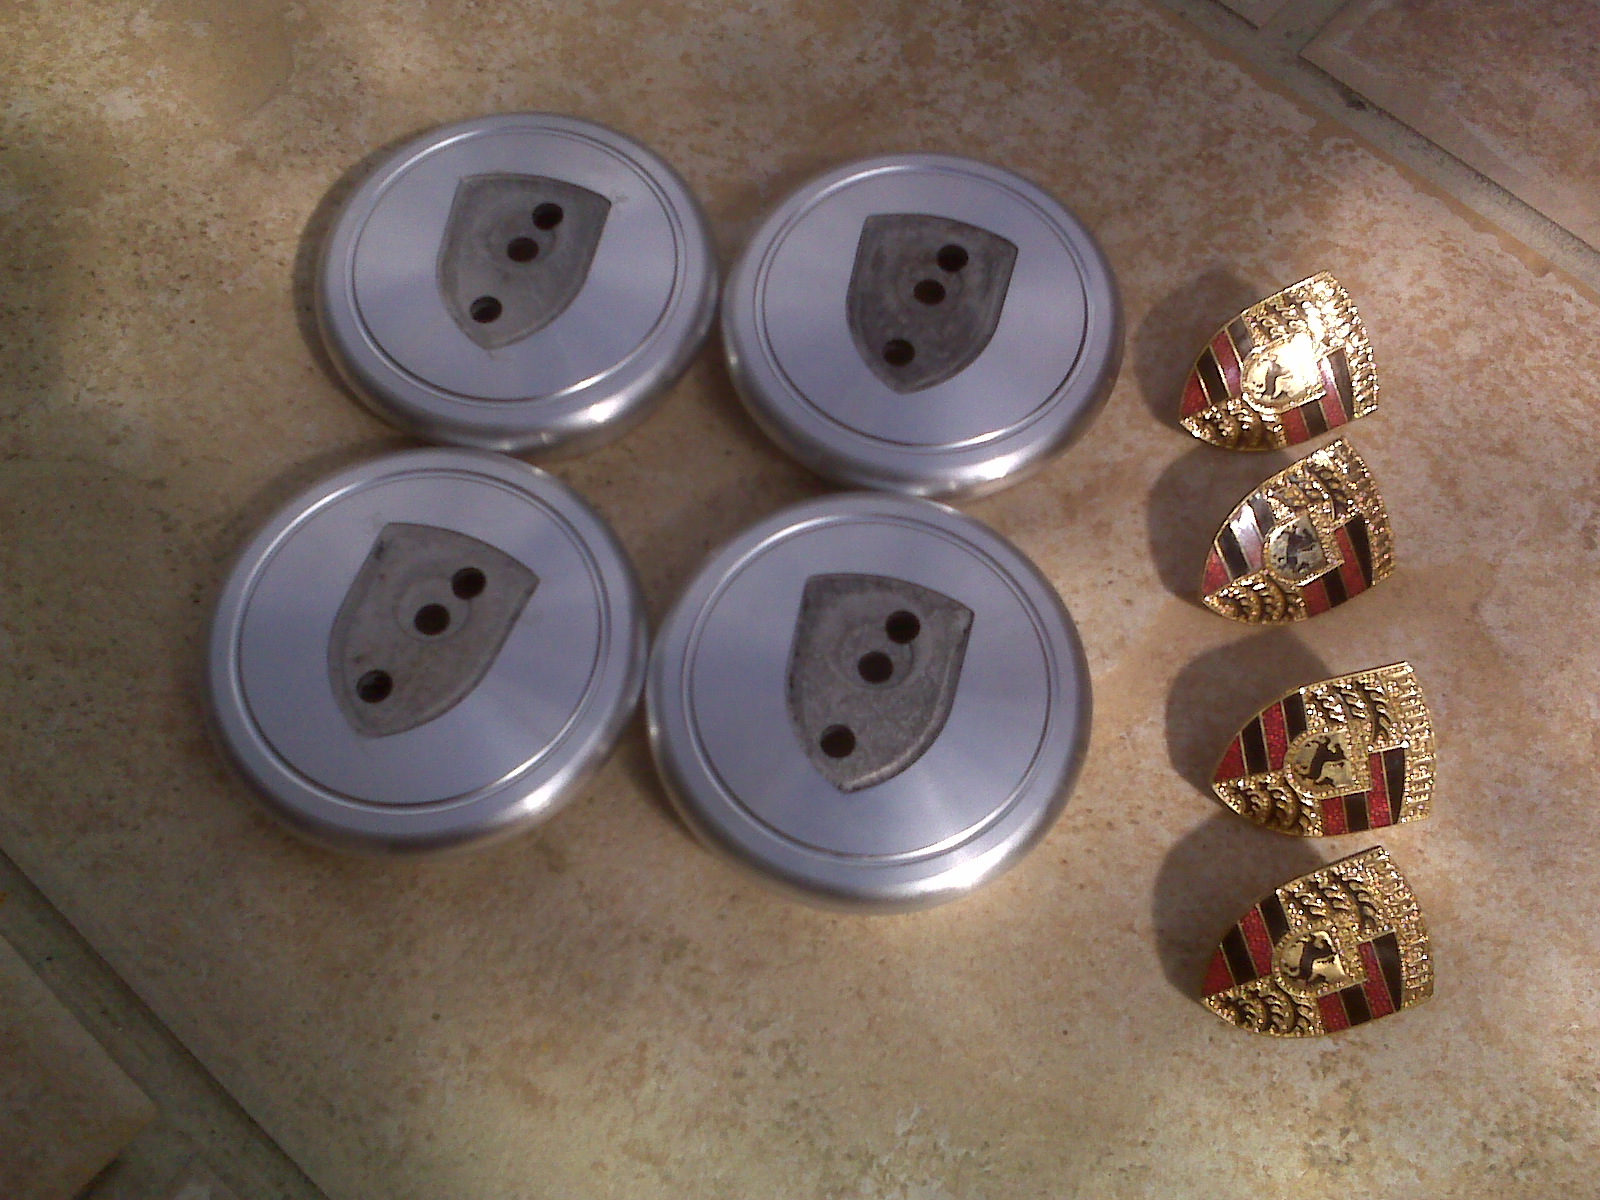
Step 9 - Caps Stripped
After removing the paint with paint stripper and removing the Porsche enameled badge, you are left with a turned aluminum surface.
|
|
 |
| |
|
|
Step 10 - Finished Caps
Using the same process as for the wheels, the caps polish up great. |
|
 |
| |
|
|
Step 11 - The Fished Wheel
With the caps on and tyre fitted the final look is pure bling.
|
|
 |
Download this refurb guide in hi-res pdf format (23mb file size) |
|

|